
CSS Open Props Exploration
I've known about the CSS Open Props project for a long time. But, it was only after recently hearing its creator, Adam Argyle, discuss the power of :where() within a design system that my curiosity was sufficiently piqued. I decided to start exploring this project in hopes of building a better sense of how design systems work.
Run this demo in my JavaScript Demos project on GitHub.
View this code in my JavaScript Demos project on GitHub.
To be clear, I have no idea what I'm doing. At first blush, the Open Props project is rather overwhelming. There's a lot of flexibility spread across several hundred CSS custom props (aka, CSS variables); but, there's very little information in terms of guidance and best practices. I can see that Open Props creates a scaffold on which to build a design system. But, the path to said design system is still unclear.
I figured a good step-one would be to just start playing with the CSS custom properties to get a feel for what they are and how they work. And, to do that, I'm created a little "Sticker Design" playground.
I got this idea from a quirky sticker that someone placed on the cross-light post in my town:
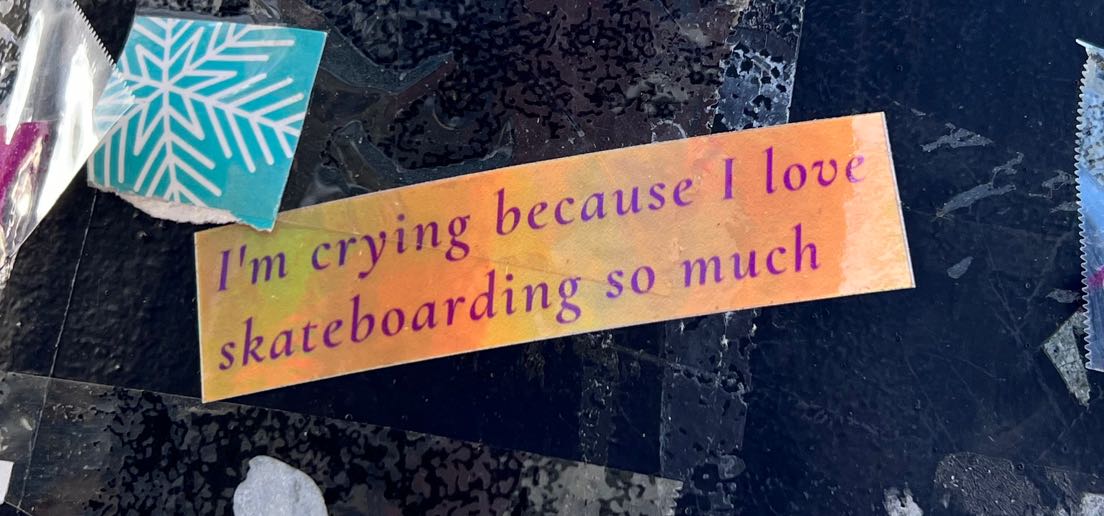
This sticker's background gradient made me think of the CSS Open Props project. The project comes with 30 hand-crafted gradients. To be honest, I never include gradients in my business applications; so, this felt like a fun and safe way to explore the Open Props project in a fresh new light.
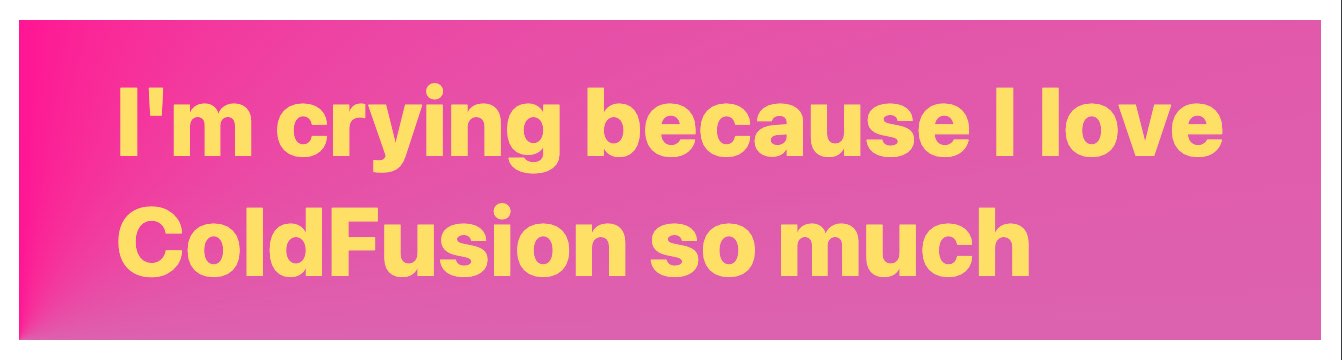
The goal of this Sticker Playground is to replace the skateboarding noun with an arbitrary value (ex, ColdFusion, Redis, MySQL, JavaScript); and then, to use Alpine.js to render a variety of options for the background gradient, text color, font family, font weight, font style, line height, and padding.
Aside: I tried to include the
html2canvas()library in order to save the sticker design to a PNG; but, I couldn't get the text to show up in the correct place.
The setup for this exploration is relatively brute-force. In my Alpine.js app component, I have a thing and styles properties which I'm binding to my sticker "canvas":
<div class="sticker" :style="styles">
	<span class="sticker__line">
		I'm crying because I love
	</span>
	<span class="sticker__line">
		<span class="thing" x-text="thing">ColdFusion</span> so much
	</span>
</div>
The Alpine.js reactive scope then defines a bunch of property variations; as well as a styles object which is a collection of var( --prop ) expressions:
// Used in `x-data="playground` DOM binding.
function playground() {

	// ... truncated code ....

	return {
		thing: "ColdFusion",
		color: {
			hues: [
				"gray", "stone", "red", "pink", "purple", "violet", "indigo",
				"blue", "cyan", "teal", "green", "lime", "yellow", "orange",
				"choco", "brown", "sand", "camo", "jungle"
			],
			variations: [ 0, 1, 2, 3, 4, 5, 6, 7, 8, 9, 10, 11, 12 ]
		},
		gradient: {
			variations: [
				1, 2, 3, 4, 5, 6, 7, 8, 9, 10,
				11, 12, 13, 14, 15, 16, 17, 18, 19, 20,
				21, 22, 23, 24, 25, 26, 27, 28, 29, 30
			]
		},
		fontSize: {
			variations: [ "00", 0, 1, 2, 3, 4, 5, 6, 7, 8 ]
		},
		fontWeight: {
			variations: [ 1, 2, 3, 4, 5, 6, 7, 8, 9 ]
		},
		lineHeight: {
			variations: [ "00", 0, 1, 2, 3, 4, 5 ]
		},
		fontFamily: {
			variations: [ "sans", "serif", "mono" ]
		},
		fontStyle: {
			variations: [ "normal", "italic" ]
		},
		letterSpacing: {
			// NOTE: There is no in-built "none", it is a custom variation that I
			// have defined in my style-sheet (for the demo).
			variations: [ 0, "none", 1, 2, 3, 4, 5, 6, 7 ]
		},
		size: {
			variations: [
				0, 1, 2, 3, 4, 5, 6, 7, 8, 9, 10,
				11, 12, 13, 14, 15
			]
		},
		borderWidth: {
			// NOTE: There is no in-built "none", it is a custom variation that I
			// have defined in my style-sheet (for the demo).
			variations: [ "none", 1, 2, 3, 4, 5 ]
		},
		styles: {
			color: "var( --yellow-3 )",
			background: "var( --gradient-11 )",
			fontSize: "var( --font-size-7 )",
			fontWeight: "var( --font-weight-8 )",
			lineHeight: "var( --font-lineheight-1 )",
			fontFamily: "var( --font-sans )",
			fontStyle: "normal",
			letterSpacing: "var( --font-letterspacing-none )",
			paddingBlock: "var( --size-4 )",
			paddingInline: "var( --size-8 )",
			borderWidth: "var( --border-size-4 )"
		}
	};

}
The rest of the demo is then just a matter of using Alpine.js to bind x-model directives to the .styles property keys. For example, here's the fieldset for selecting the background gradient—notice that the :value binding of the <input> is the var( --gradient-N ) expression. The x-model directive will save this expression into the styles property; which will, in turn, reactively update the rendering of the "sticker".
<fieldset>
	<legend>
		Gradients
	</legend>
	<div class="group">
		<strong>
			Variations
		</strong>
		<!-- LOOP over gradients and create an INPUT for each option. -->
		<template x-for="variation in gradient.variations">
			<label :style="{ background: `var( --gradient-${ variation } )` }">
				<input
					type="radio"
					x-model="styles.background"
					:value="`var( --gradient-${ variation } )`"
				/>
				<span x-text="variation"></span>
			</label>
		</template>
	</div>
</fieldset>
I'm actually using the Open Props setting in two places within this fieldset: the input :value and the label :style. This way, the label itself provides some sort of visual preview as to what selecting the option entails. I think this makes for a fun user experience:

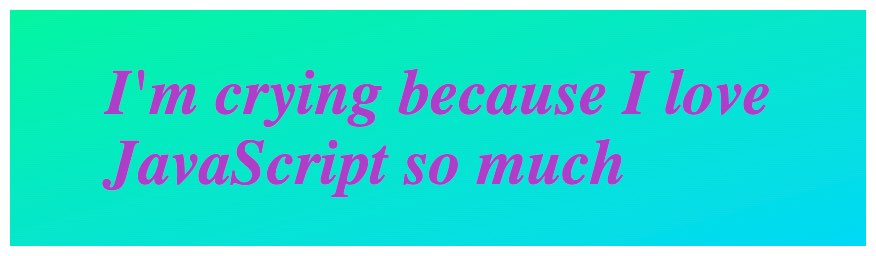
If you want to try this for yourself, open the Open Props playground. Here are a few examples of stickers that I created. Note that when you change the settings in the playground, the settings are persisted in the URL fragment. As such, each sticker design can be shared (the following images are actually links):
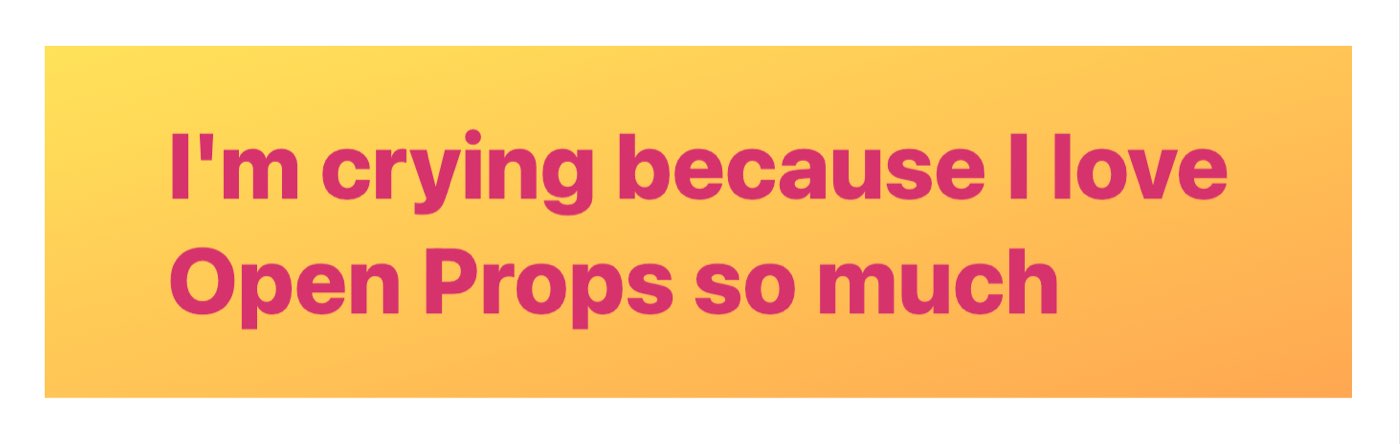

As I was designing these "stickers", it was just trial-and-error. Meaning, I have no mental model for what --size-3 is; or what --font-letterspacing-3 is. I just kept tweaking until I had something that looked ok. And, this is what I mean when I say that there isn't much guidance in the project itself. It seems to give you the low-level mechanics; but, it doesn't seem to have strong feelings about how various properties should relate. I guess that's the job of the design system that you create?
I think this is one of those projects that won't make a lot of sense until you start to build something substantial with it. This playground was fun; but, it wasn't a real world application.
For completeness, here's the rest of the code in the demo. The HTML is page is 90% form inputs and x-model bindings:
<!doctype html>
<html lang="en">
<head>
	<meta charset="utf-8" />
	<meta name="viewport" content="width=device-width, initial-scale=1" />
	<link rel="stylesheet" type="text/css" href="./main.css" />
</head>
<body x-data="playground">

	<div class="panels">
		<div class="panels__left">

			<h1>
				CSS Open Props Playground
			</h1>

			<fieldset>
				<legend>
					Thing to Love
				</legend>
				<div class="group">
					<input type="text" x-model="thing" size="30" />
				</div>
			</fieldset>

			<fieldset>
				<legend>
					Gradients
				</legend>
				<div class="group">
					<strong>
						Variations
					</strong>
					<template x-for="variation in gradient.variations">
						<label :style="{ background: `var( --gradient-${ variation } )` }">
							<input
								type="radio"
								x-model="styles.background"
								:value="`var( --gradient-${ variation } )`"
							/>
							<span x-text="variation"></span>
						</label>
					</template>
				</div>
			</fieldset>

			<fieldset>
				<legend>
					Colors
				</legend>
				<template x-for="( hue, hIndex ) in color.hues">
					<div class="group">
						<strong
							class="group__label"
							x-text="hue">
						</strong>
						<template x-for="( variation, vIndex ) in color.variations">
							<label :style="{ background: `var( --${ hue }-${ variation } )` }">
								<input
									type="radio"
									x-model="styles.color"
									:value="`var( --${ hue }-${ variation } )`"
									:data-h-index="hIndex"
									:data-v-index="vIndex"
									@keydown.up="gotoPrevHue( $event )"
									@keydown.down="gotoNextHue( $event )"
								/>
								<span x-text="variation"></span>
							</label>
						</template>
					</div>
				</template>
			</fieldset>

			<fieldset>
				<legend>
					Font Size
				</legend>
				<div class="group">
					<strong>
						Variations
					</strong>
					<template x-for="variation in fontSize.variations">
						<label :style="{ 'font-size': `var( --font-size-${ variation } )` }">
							<input
								type="radio"
								x-model="styles.fontSize"
								:value="`var( --font-size-${ variation } )`"
							/>
							<span x-text="variation"></span>
						</label>
					</template>
				</div>
			</fieldset>

			<fieldset>
				<legend>
					Font Weight
				</legend>
				<div class="group">
					<strong>
						Variations
					</strong>
					<template x-for="variation in fontWeight.variations">
						<label :style="{ 'font-weight': `var( --font-weight-${ variation } )` }">
							<input
								type="radio"
								x-model="styles.fontWeight"
								:value="`var( --font-weight-${ variation } )`"
							/>
							<span x-text="variation"></span>
						</label>
					</template>
				</div>
			</fieldset>

			<fieldset>
				<legend>
					Letter Spacing
				</legend>
				<div class="group">
					<strong>
						Variations
					</strong>
					<template x-for="variation in letterSpacing.variations">
						<label>
							<input
								type="radio"
								x-model="styles.letterSpacing"
								:value="`var( --font-letterspacing-${ variation } )`"
							/>
							<span x-text="variation"></span>
						</label>
					</template>
				</div>
			</fieldset>

			<fieldset>
				<legend>
					Line Height
				</legend>
				<div class="group">
					<strong>
						Variations
					</strong>
					<template x-for="variation in lineHeight.variations">
						<label :style="{ 'line-height': `var( --font-lineheight-${ variation } )` }">
							<input
								type="radio"
								x-model="styles.lineHeight"
								:value="`var( --font-lineheight-${ variation } )`"
							/>
							<span x-text="variation"></span>
						</label>
					</template>
				</div>
			</fieldset>

			<fieldset>
				<legend>
					Font Family
				</legend>
				<div class="group">
					<strong>
						Variations
					</strong>
					<template x-for="variation in fontFamily.variations">
						<label :style="{ 'font-family': `var( --font-${ variation } )` }">
							<input
								type="radio"
								x-model="styles.fontFamily"
								:value="`var( --font-${ variation } )`"
							/>
							<span x-text="variation"></span>
						</label>
					</template>
				</div>
			</fieldset>

			<fieldset>
				<legend>
					Font Style
				</legend>
				<div class="group">
					<strong>
						Variations
					</strong>
					<template x-for="variation in fontStyle.variations">
						<label :style="{ 'font-style': variation }">
							<input
								type="radio"
								x-model="styles.fontStyle"
								:value="variation"
							/>
							<span x-text="variation"></span>
						</label>
					</template>
				</div>
			</fieldset>

			<fieldset>
				<legend>
					Padding
				</legend>
				<div class="group">
					<strong>
						Block
					</strong>
					<template x-for="variation in size.variations">
						<label>
							<input
								type="radio"
								x-model="styles.paddingBlock"
								:value="`var( --size-${ variation } )`"
							/>
							<span x-text="variation"></span>
						</label>
					</template>
				</div>
				<div class="group">
					<strong>
						Inline
					</strong>
					<template x-for="variation in size.variations">
						<label>
							<input
								type="radio"
								x-model="styles.paddingInline"
								:value="`var( --size-${ variation } )`"
							/>
							<span x-text="variation"></span>
						</label>
					</template>
				</div>
			</fieldset>

			<fieldset>
				<legend>
					Border Size
				</legend>
				<div class="group">
					<strong>
						Variations
					</strong>
					<template x-for="variation in borderWidth.variations">
						<label :style="{ 'border-width': `var( --border-size-${ variation } )` }">
							<input
								type="radio"
								x-model="styles.borderWidth"
								:value="`var( --border-size-${ variation } )`"
							/>
							<span x-text="variation"></span>
						</label>
					</template>
				</div>
			</fieldset>
		</div>
		<div class="panels__right">

			<div class="sticker" :style="styles">
				<span class="sticker__line">
					I'm crying because I love
				</span>
				<span class="sticker__line">
					<span class="thing" x-text="thing">ColdFusion</span> so much
				</span>
			</div>

		</div>
	</div>

	<script type="text/javascript" src="../../vendor/alpine/3.13.5/alpine.3.13.5.min.js" defer></script>
	<script type="text/javascript">

		function playground() {

			return {
				init() {

					// Whenever the style data changes, persist it to the URL.
					this.$watch( "[ thing, styles ]", handleStyleChange );

					// On page load, apply URL-based styles to the current rendering.
					applyUrl( this );

				},
				gotoPrevHue: gotoPrevHue,
				gotoNextHue: gotoNextHue,
				thing: "ColdFusion",
				color: {
					hues: [
						"gray", "stone", "red", "pink", "purple", "violet", "indigo",
						"blue", "cyan", "teal", "green", "lime", "yellow", "orange",
						"choco", "brown", "sand", "camo", "jungle"
					],
					variations: [ 0, 1, 2, 3, 4, 5, 6, 7, 8, 9, 10, 11, 12 ]
				},
				gradient: {
					variations: [
						1, 2, 3, 4, 5, 6, 7, 8, 9, 10,
						11, 12, 13, 14, 15, 16, 17, 18, 19, 20,
						21, 22, 23, 24, 25, 26, 27, 28, 29, 30
					]
				},
				fontSize: {
					variations: [ "00", 0, 1, 2, 3, 4, 5, 6, 7, 8 ]
				},
				fontWeight: {
					variations: [ 1, 2, 3, 4, 5, 6, 7, 8, 9 ]
				},
				lineHeight: {
					variations: [ "00", 0, 1, 2, 3, 4, 5 ]
				},
				fontFamily: {
					variations: [ "sans", "serif", "mono" ]
				},
				fontStyle: {
					variations: [ "normal", "italic" ]
				},
				letterSpacing: {
					// NOTE: There is no in-built "none", it is a custom variation that I
					// have defined in my style-sheet (for the demo).
					variations: [ 0, "none", 1, 2, 3, 4, 5, 6, 7 ]
				},
				size: {
					variations: [
						0, 1, 2, 3, 4, 5, 6, 7, 8, 9, 10,
						11, 12, 13, 14, 15
					]
				},
				borderWidth: {
					// NOTE: There is no in-built "none", it is a custom variation that I
					// have defined in my style-sheet (for the demo).
					variations: [ "none", 1, 2, 3, 4, 5 ]
				},
				styles: {
					color: "var( --yellow-3 )",
					background: "var( --gradient-11 )",
					fontSize: "var( --font-size-7 )",
					fontWeight: "var( --font-weight-8 )",
					lineHeight: "var( --font-lineheight-1 )",
					fontFamily: "var( --font-sans )",
					fontStyle: "normal",
					letterSpacing: "var( --font-letterspacing-none )",
					paddingBlock: "var( --size-4 )",
					paddingInline: "var( --size-8 )",
					borderWidth: "var( --border-size-4 )"
				}
			};

			/**
			* I react to style selection changes and persist the state to the URL.
			*/
			function handleStyleChange( [ thing, styles ] ) {

				var stickerState = JSON.stringify({
					thing: thing,
					styles: styles
				});
				var encodedState = btoa( stickerState );

				window.location.hash = encodedState;

			}

			/**
			* I pull the styles out of the URL and apply them to the current rendering.
			*/
			function applyUrl( scope ) {

				if ( ! window.location.hash ) {

					return;

				}

				try {

					var encodedState = window.location.hash.slice( 1 );
					var decodedState = atob( encodedState );
					var stickerState = JSON.parse( decodedState );

					scope.thing = stickerState.thing;
					Object.assign( scope.styles, stickerState.styles );

				} catch ( error ) {

					console.warn( error );

				}

			}

			/**
			* I move the color selection to the previous hue with the same variation.
			*/
			function gotoPrevHue( event ) {

				var target = event.currentTarget;
				var hIndex = +target.dataset.hIndex;
				var vIndex = +target.dataset.vIndex;

				if ( hIndex === 0 ) {

					return;

				}

				// Override the default keydown behavior.
				event.preventDefault();

				var desiredHue = document.querySelector( `input[ data-h-index = "${ hIndex - 1 }" ][ data-v-index = "${ vIndex }" ]` );

				desiredHue.focus();
				this.styles.color = desiredHue.value;

			}

			/**
			* I move the color selection to the next hue with the same variation.
			*/
			function gotoNextHue( event ) {

				var target = event.currentTarget;
				var hIndex = +target.dataset.hIndex;
				var vIndex = +target.dataset.vIndex;

				if ( hIndex === ( this.color.hues.length - 1 ) ) {

					return;

				}

				// Override the default keydown behavior.
				event.preventDefault();

				var desiredHue = document.querySelector( `input[ data-h-index = "${ hIndex + 1 }" ][ data-v-index = "${ vIndex }" ]` );

				desiredHue.focus();
				this.styles.color = desiredHue.value;

			}

		}

	</script>

</body>
</html>
For the CSS file, I didn't have any build-step. I'm just using CSS native @import statements to pull in the "all options" Open Props file as well as the reset file they provide.
In addition to the styling of the "sticker", I'm also trying to use the Open Props var() values in the layout itself. One of the cool things about this being CSS custom props all the way down is that you can easily define your own custom props alongside the provided ones.
@import "../../vendor/open-props/1.7.4/open-props.min.css" ;
@import "../../vendor/open-props/1.7.4/normalize.min.css" ;

body {
	background-color: var( --gray-8 ) ;
	color: var( --gray-0 ) ;

	/* Custom variations to help with the demo. */
	--border-size-none: 0px ;
	--font-letterspacing-none: 0px ;
}

.panels {
	display: flex ;
	inset: 0 ;
	position: fixed ;
}
.panels__left,
.panels__right {
	flex: 1 1 50% ;
	overflow: auto ;
	overscroll-behavior: contain ;
	padding: var( --size-4 ) ;
}
.panels__left {}
.panels__right {
	align-items: center ;
	display: flex ;
	justify-content: center ;
}

fieldset {
	margin-block: var( --size-4 ) ;
	padding: var( --size-4 ) ;
}
fieldset input[ type = "text" ] {
	color: var( --gray-12 ) ;
}
fieldset .group {
	align-items: center ;
	display: flex ;
	flex-wrap: wrap ;
	gap: var( --size-2 ) var( --size-2 ) ;
}
fieldset .group:not(:last-child) {
	margin-block-end: var( --size-2 ) ;
}
fieldset strong {
	margin-right: var( --size-2 ) ;
}
fieldset label {
	align-items: center ;
	border: var( --border-size-1 ) dashed var( --gray-6 ) ;
	border-radius: var( --radius-2 ) ;
	display: flex ;
	padding: var( --size-1 ) var( --size-2 ) ;
}
fieldset label input {
	margin-right: var( --size-2 ) ;
}
fieldset label:has(input:checked) {
	border-style: solid ;
	border-color: #ffffff ;
}

.sticker {
	border-color: #ffffff ;
}
.sticker__line {
	display: block ;
}
I'll definitely keep playing around with the CSS Open Props project. And, to be honest, it was a lot of fun to finally create something with a rich gradient that everyone seems to love.
Want to use code from this post? Check out the license.
Reader Comments
It's disappointing to hear the documentation isn't as useful a guide as you'd hope, but I'm excited that you've decided to dig into open props more.
After watching the Build Custom Interfaces Using CSS Open Props on Learn with Jason, I can begin to understand how the system will come together and make sense. And Adam Argyle seems like a really cool guy.
https://www.learnwithjason.dev/build-custom-interfaces-using-css-open-props/
In any case, I've got my popcorn 🍿 and am here for whatever you have to share!
@Chris,
Yeah, that's a good video. Also, Kevin Powell has a few videos on Open Props that are good. And, I don't mean to diminish the project; I think the goal of the project is to provide the low-level mechanics. After all, he does call it "sub-atomic styles". But, I am not sure that it points you any opinionated direction regarding how design systems should be built.
It's really just an area that I don't have much grounding in, so I feel a bit lost.
Post A Comment — ❤️ I'd Love To Hear From You! ❤️
Post a Comment →